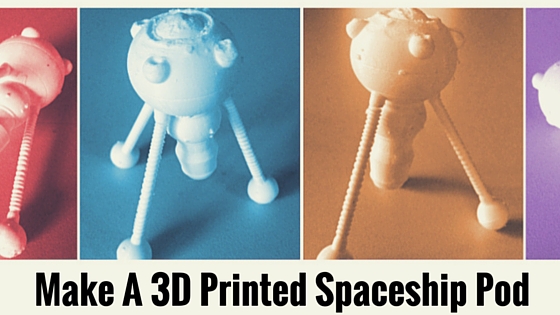
How To Make A 3D Print Spaceship Pod
How To Make A 3D Printed Spaceship Pod
What?
I’m going to share with you the general process of how I created this 3D spaceship print, how I designed it and then got it printed out using and Ultimaker 2 3D printer. Check out my 3D printing for artists blog post for information on creative 3D printing in general. After reading this, you will get to know how to Make A 3D Printed Spaceship Pod.
I love retrofuturistic style science fiction, I guess part of it was growing up as a kid in the 1980’s, old comics and illustrations seemed to be all around from the 1970’s. 60’s and even 50’s.
This pod I designed is going to encircle a floating arctic city I’m in the process of making an imaginary arctic city during my stay in Iceland. I am going to turn it into a product model kit so also watch this space.
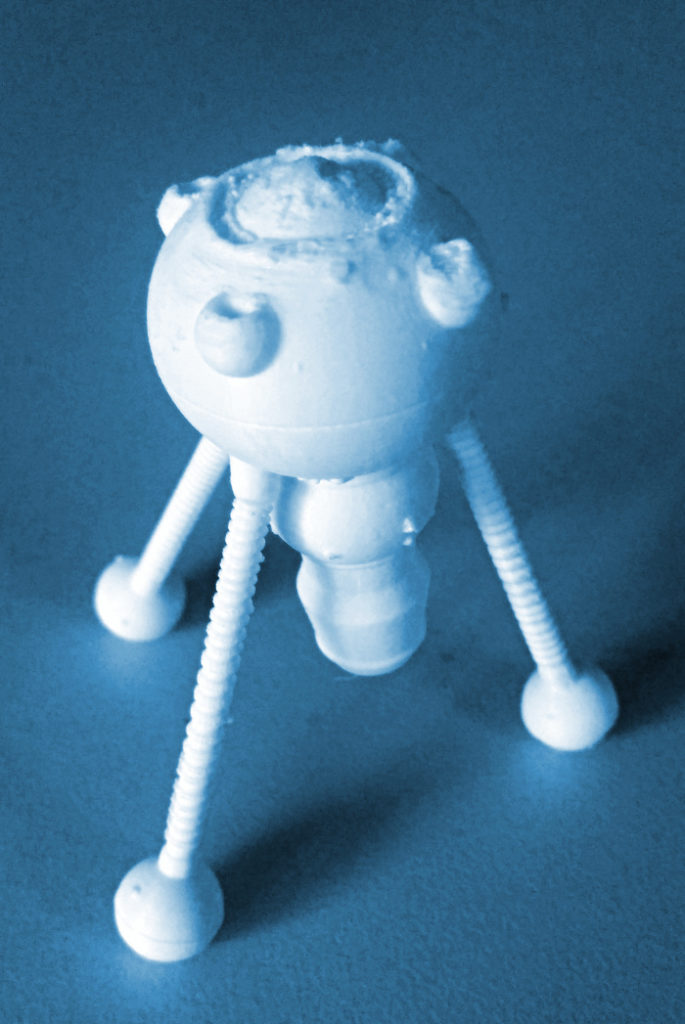
Making a ship like this in 3D graphics and having a simple render of it like below is pretty nice!
As a real model made with 3D printing = wow.
We can now make our own toys, whatever! Great. This is amazing, think about it. Now we can make our 3D graphics into reality = analogue!
3D print models with textures made on the computer are starting to be available for examples as sandstone on the 3D print to order site Shapeways. However, I would argue hand painting them in real life is quicker and also you know the result almost instantly, you can also use your local FabLab or Makerskspace to print it out on a 3D printer there. I’m using the Ultimaker2 printer and the 3D prints it produces are more than fine!
I will show you how I am starting to paint my 3d printed models in the next blog post. This space pod is a small ship which is part of the latest city of the imagination, I am making. Watch this space, it is really exciting as this city of the imagination will be available to buy as kit form.
How…
So here is the process I used to make this spacepod model…
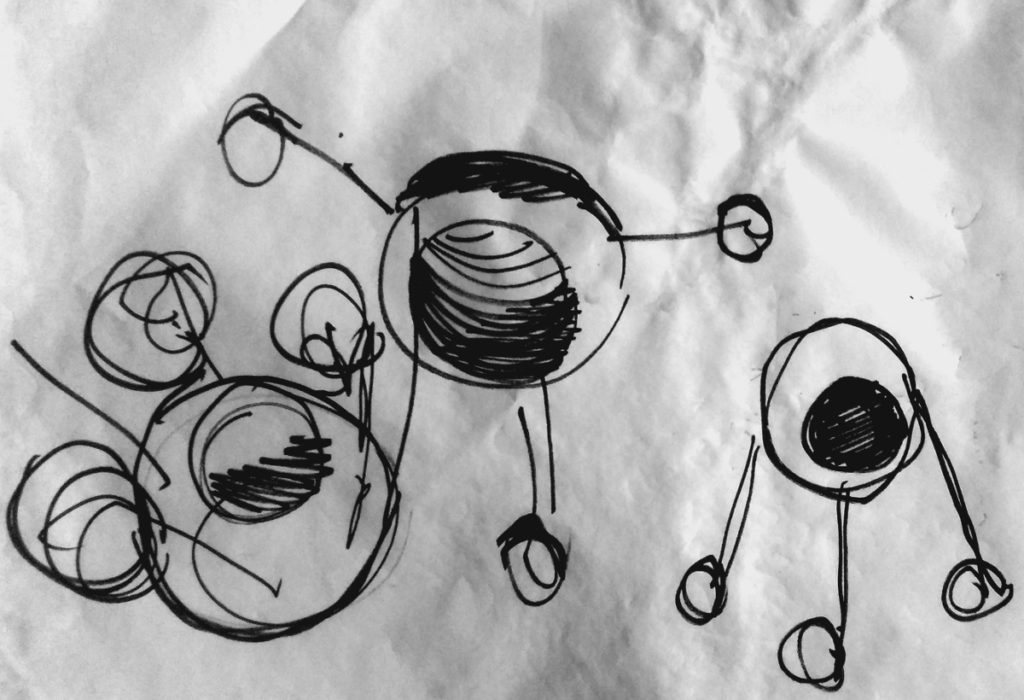
Start with Simple quick concept sketch/research idea. I made one on this crunched up scrap of paper!
If you don’t want to keep drawing on paper, stop!
Take your idea and into your 3D graphics application as a reference. This was the case in this example. I had the initial idea of a simple pod shape with three tripod legs. After that, I knew to push the concept further I would need to take it into a 3D graphics application of your choice be it 3dsMax, Blender, etc.
For those of you who are just beginning and want to make simple stuff, the online application, Tinkercad is great, you can also check out my maker resource list for more 3D graphics resources.
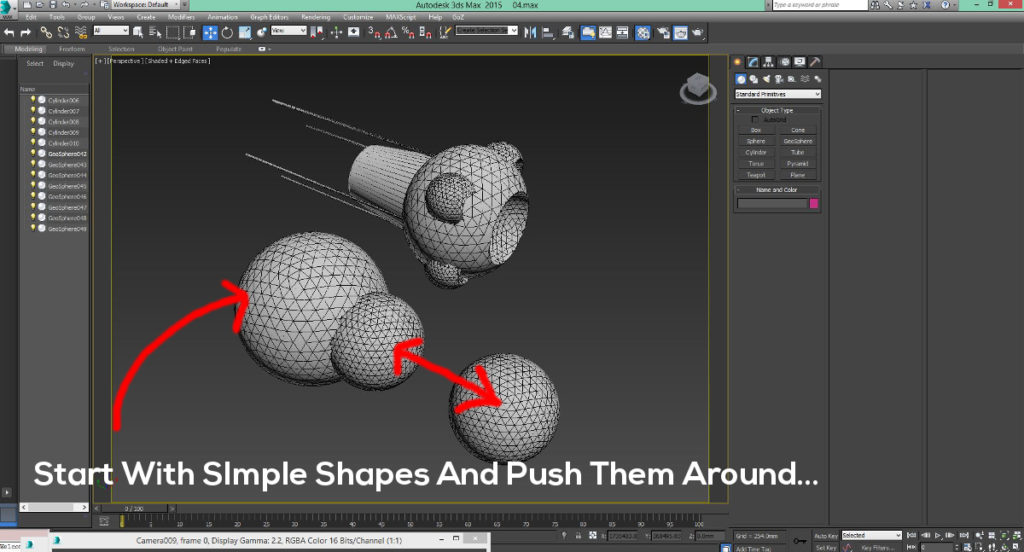
Continue To Design In 3D Software
Push around your shapes.
If you are going down a route where you do not feel the “passion!” have the guts to save this and then start again, I did this, look the Jotun ship. Sometimes the idea you have first is not the one you will finish with. A bit like life! (sometimes) 🙂
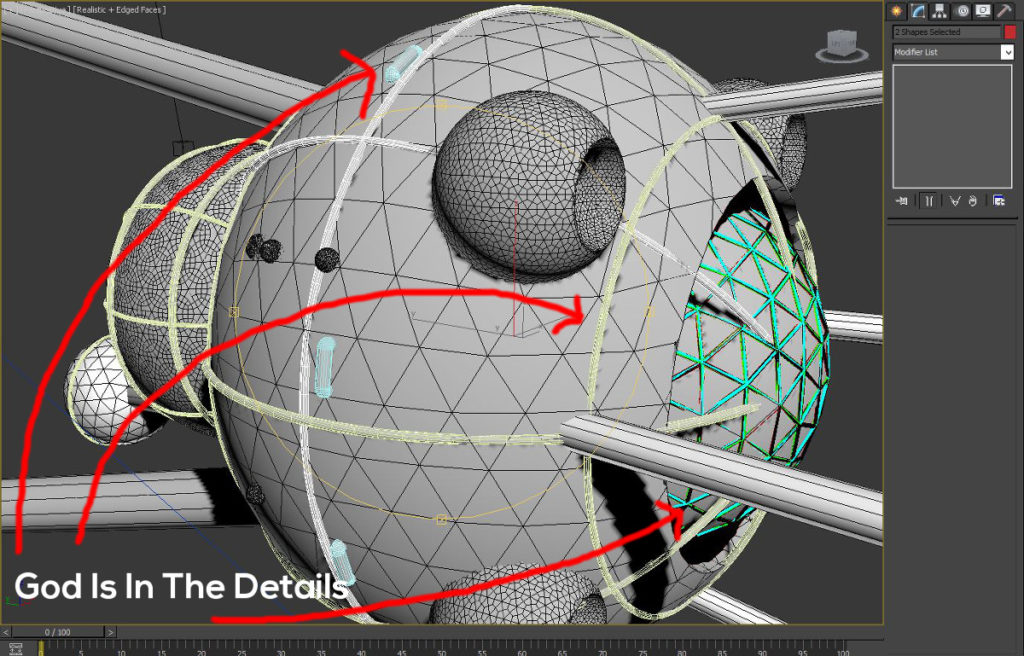
As the famous German architect Ludwig Mies van der Rohe said “God is in the Details”, when you are making enginering type models, adding small details or “greebles” can add to the authentic look of the final model.
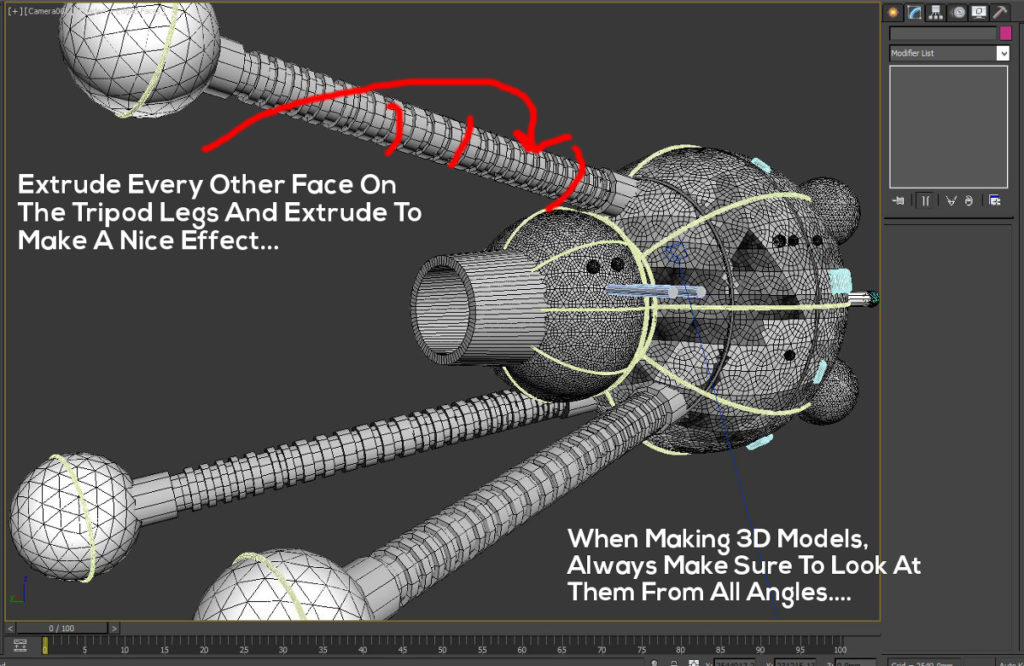
As I always say, when making 3D models, make sure that you look at them from all angles to get the feel of the proportion, dimension and overall look.
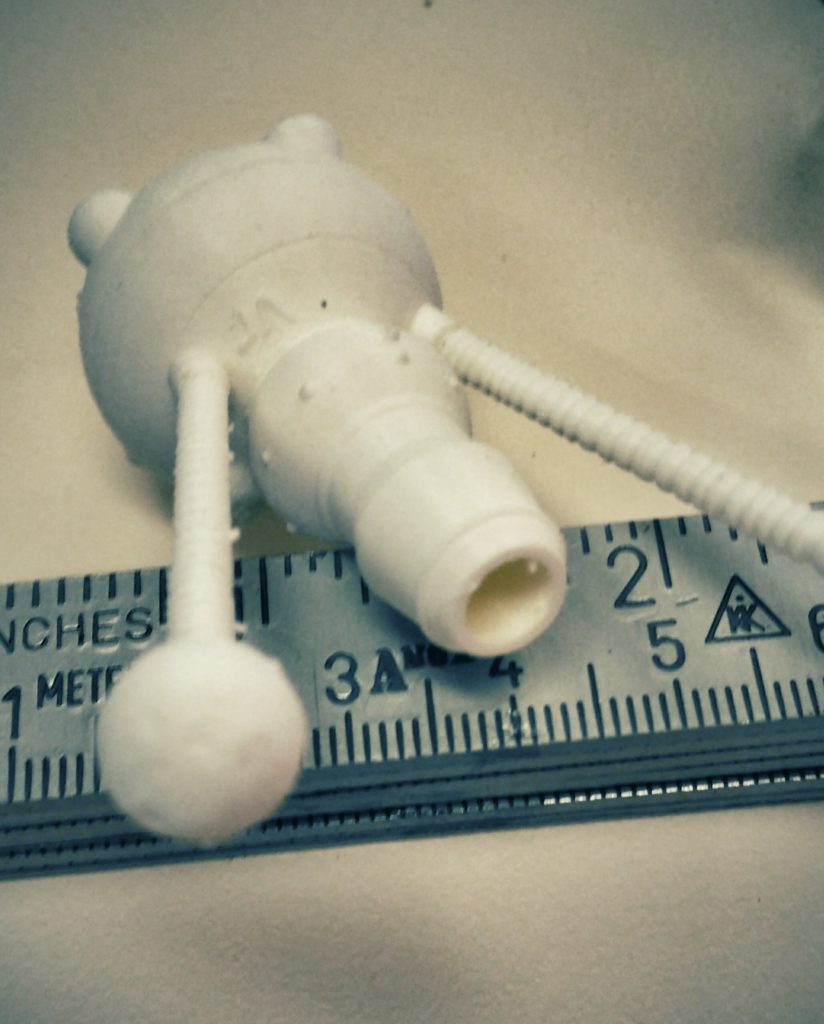
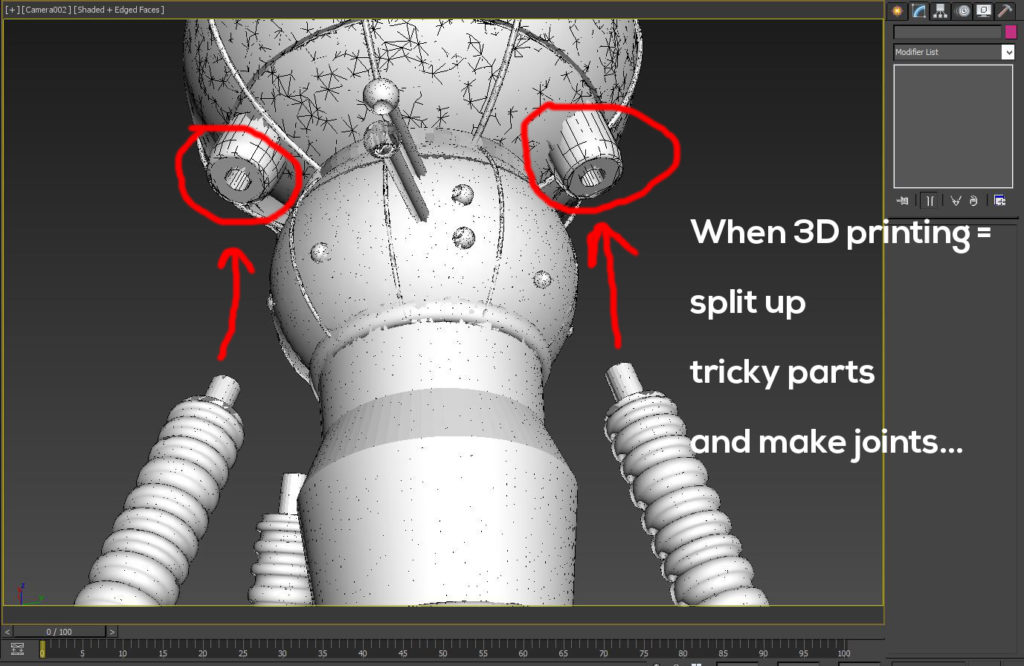
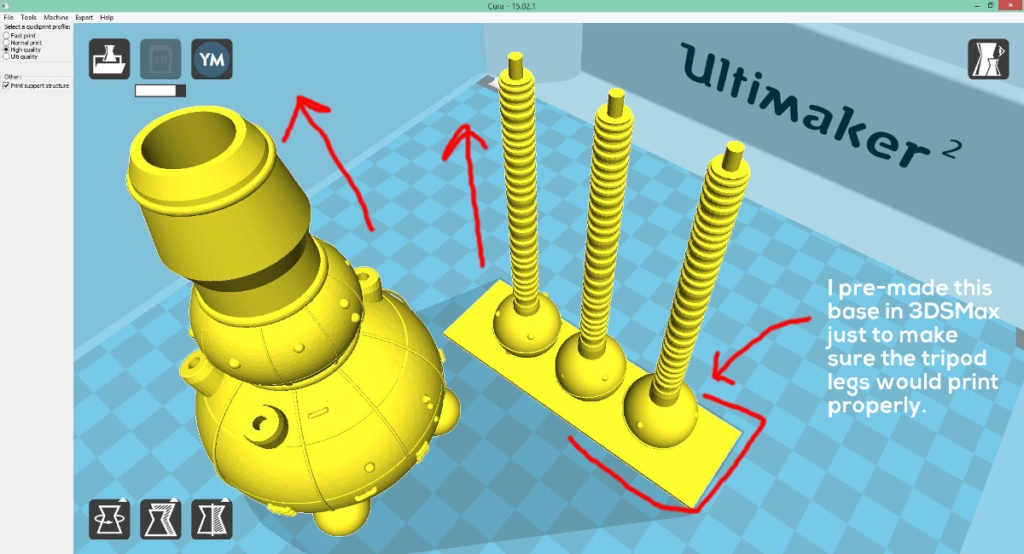
3D printing can be tricky in this fairly early time for desktop 3D printers. I often split my my models up and add attachments such as above. This way, prints come out a lot better.
3D Print Setup…
Once you have finished your 3D graphics model. Export it as an .STL into your 3D print setup application. In this case, I’m using Cura that is used to prepare prints for Ultimaker 3D printers.
3D Print It…
This print took just over two hours for on high-quality settings. When you start a 3D print, make sure you are around to check on its process from time to time incase anything goes wrong. It often does!
For the results check below but watch this video first about the process…
Video…
The Results…
You can buy this model here on my online shop for £7.99 (or equivalent in your currency) plus packing and postage. You can also request a custom version, different sizes and also materials including metal.
Going Further…
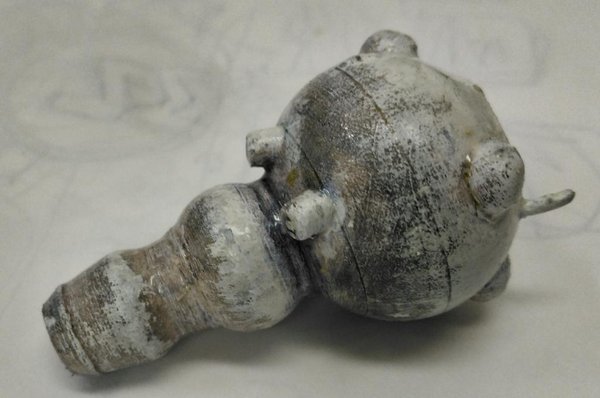
The next logical thing to do is to try to add realism by painting your model. Then in your photos or even films, it will add that extra level of detail. I’m just getting into painting my 3D models. Below is a preview of the type of grungy arctic dirty look I am developing. I want viewers to really feel the cold when they look at this model. Check out the next blog post about how I painted this pod. Watch this space and keep following me on social media to get notifications of updates…
As an extra bonus for those new to my website and blog, here is a previous post about how to make a retrofuturistic spaceship in 3d Graphics.
Thanks for reading this blog post and checking out the accompanying Youtube Video. Did you like this post “How To Make A 3D Printed Spaceship Pod”?
Let me know if you like this post by making a comment below or email me at info@jamesabellart.com for your suggestions.
Take the first steps today to make your own city of the imagination, look out for more posts. Exciting times ahead!
If you are interested in taking your Cities Of The Imagination, you can take it to the next level, you can buy my Kindle book here about making an imaginary city using Blender, the free 3D graphics application –
If you feel that this blog post or my site helps you, consider making a donation so I can continue with in-depth blogs full of useful resources and inspiration for you.
You can donate with bitcoins or on the website Patreon.
Alternatively, you can collect and purchase the spaceship pod model on my online shop.
or donate with bitcoin…
As said above, you can also buy the model in this blog here on my online shop .
I look forward to talking with you again soon and keep making! 🙂






[…] weekend, I showed you how I made my 3D printed spaceship pod image for my latest imaginary city link “Arctic […]
[…] weekend, I showed you how I made my 3D printed spaceship pod image for my latest imaginary city link “Arctic […]