Make A Mini LED Lighting Stand
Make A Mini LED Lighting Stand
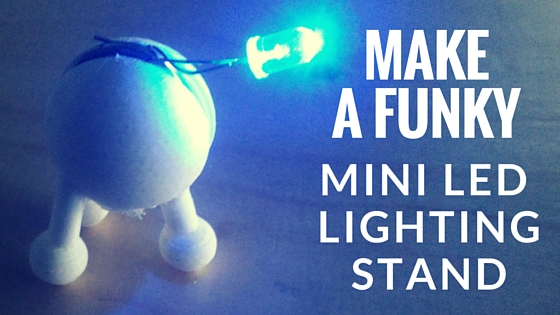
I’m going to tell you how to make this funky little LED lighting stand. It only took me a few hours to design…
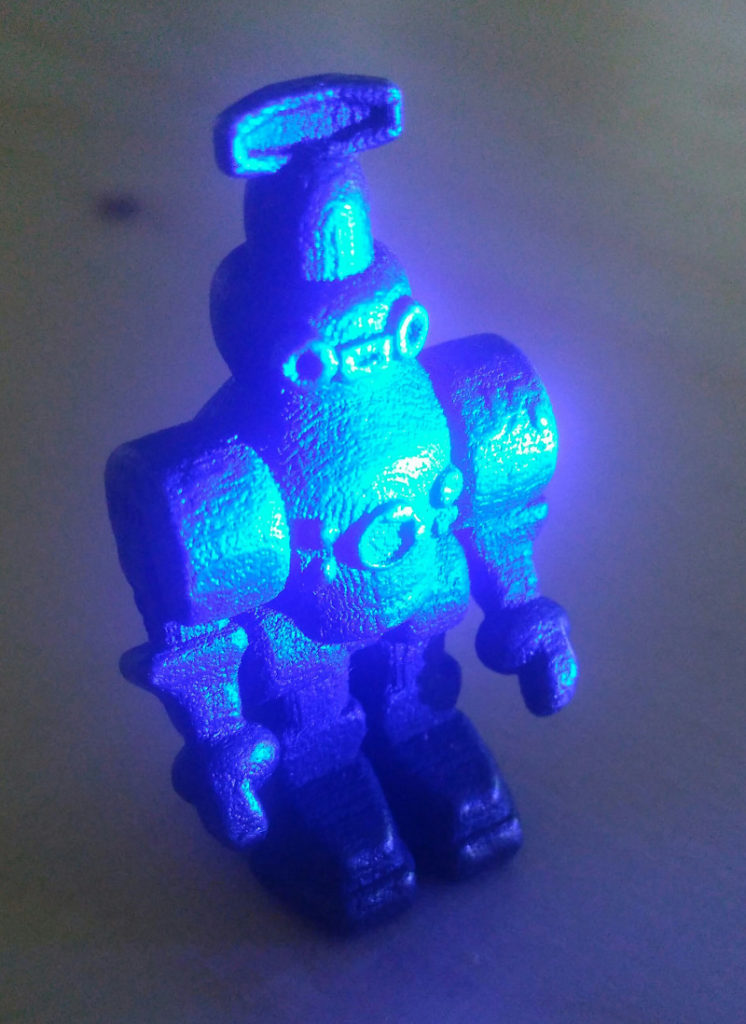
This can be used to precisely your 3D models when you are taking photos of them and also when showing them to people. It will light your models, and also from the inside of hollow 3D prints!
I made this little LED lighting stand design for two reasons –
I’m starting to light my 3D print models when photographing them and presenting them as displays, especially my latest imaginary city work . It really gives me control over where I light the model and also gives me a small holder in case I want to have lights coming from interior spaces in my 3D models.
I am really pleased with the model design. It is under a creative commons license and you can download it at the bottom of this page.
I am just going to show you a few slides of the “crux” points in the design and at the bottom, there is a more in depth instruction sequence on Instructables at the bottom of the slides.
Also, check out my video below, where I show the light in action!
CONCEPT DRAWING – traditional sketch
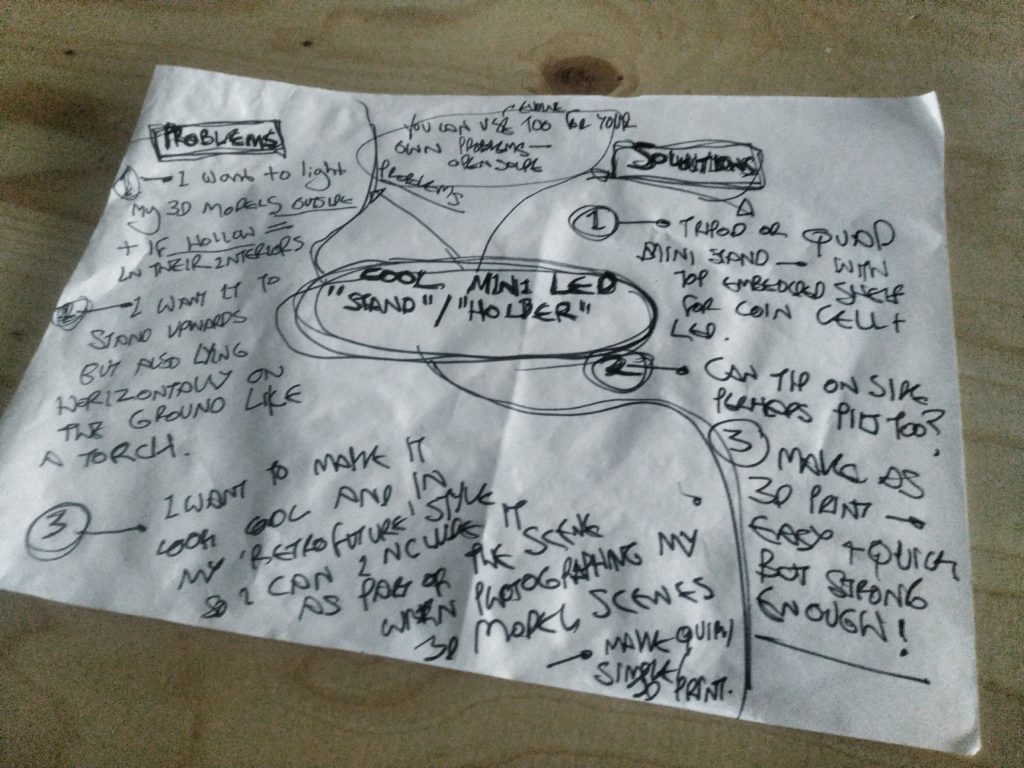
When I make either a design or even a piece of imaginary artwork such as my Imaginary Cities, I like to think about how the design will work. I often write down “problems” and “solutions”.
The main purpose of this design was to light my 3D models and be able to direct light onto a certain point of the model…
I also wanted to be able to light hollow 3D prints from inside…
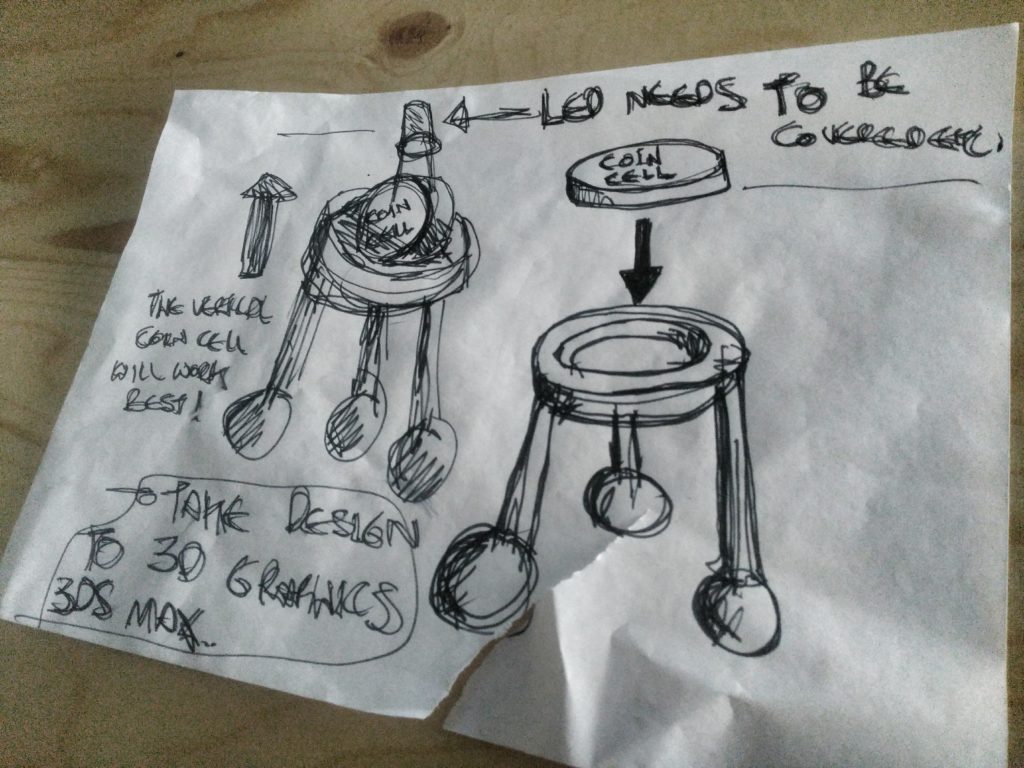
I came up with some quick sketches based on a tripod type mini stand…
EVOLUTION OF DESIGN
Then without more to do, I took the design into the 3d application of my choice, 3DS Max. You can check out more images of the 3D graphics process on the Instructables (link).
The main “crux” part of the design evolution was where I decided that the battery cell coin would sit vertically and not horizontally in order to be secure and that the LED would protude upwards, more logical really!
Then after working out the function, I worked on how the LED stand would look, the form and shape…
At the same time, the pod-like spherical form, would allow the LED stand to lie horizontally on a flat surface too. This would allow it to act as a mini horizontal torch to light areas of the 3D model.
Form and function are often intertwined when making a design.
SETUP AND OPTIMISE 3D PRINT
RESULTS
VIDEO
Check out the video the accompanies this blog post –
Again, you can check out a more in depth instruction sequence of this design on Instructables where you can also download the 3D print file for you to model your own funky LED mini lighting stand!
Don’t say I’m not good to you!
So now you know how to do this, find your nearest 3D printer now! Clue, your local FabLab or Makerspace will have one!
Thanks for reading this blog post and checking out the accompanying Youtube Video. Did you like this post “How To Paint 3D Prints”?
Let me know if you like this post by making a comment below or email me at info@jamesabellart.com for your suggestions or if you would like a private Skype lesson.
Take the first steps today to make your own city of the imagination, look out for more posts. Exciting times ahead!
If you are interested in taking your Cities Of The Imagination, you can take it to the next level, you can buy my Kindle book here about making an imaginary city using Blender, the free 3D graphics application –
If you feel that this blog post or my site helps you, consider making a donation so I can continue with in-depth blogs full of useful resources and inspiration for you.
You can donate with bitcoins or on the website Patreon.
Alternatively, you can collect and purchase the spaceship pod model on my online shop.
or donate with bitcoin…
As said above, you can also buy the model in this blog here on my online shop .
I look forward to talking with you again soon and keep making! 🙂


