Human vs. AI in 3D Modeling: My Workflow for Staying Relevant (2026)

drawing and image to 3D AI Tripo 3D

Human vs. AI in 3D Modeling: My Workflow for Staying Relevant (2026)

A lot of my work involves 3D modelling for my art and design practice.

As of February 2026, there is a crisis.

Perhaps you guessed, it is AI. 

Now AI can make 3D models quickly and to an almost professional standard. 

We need to adapt to the times, what can we do in AI for 3D what can’t we do?

I’m putting together a workflow for my practice and how I can use AI tools particularly image to 3D. As someone who draws a lot using traditional media, I am fascinated with how I can use my drawing work for initial ideas and evolutions and AI tools as an art apprentice


I think the main realization, after playing with AI you need to try to integrate it into one of  your creative projects so that you get to know how to apply the new technologies. I am working on a series of sculptures based on my time in India and Nepal, where I am working remotely at the moment. I wanted to see how AI can produce a monkey 3D model that adheres to my initial loose concept sketch.

Traditional Sketch for Image to 3D

Traditional Sketch for Image to 3D

Check the video above where I upload a quick loose sketch of a monkey I made-

Human vs. AI in 3D Modeling
monkey sketch side view
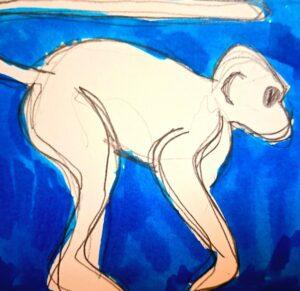
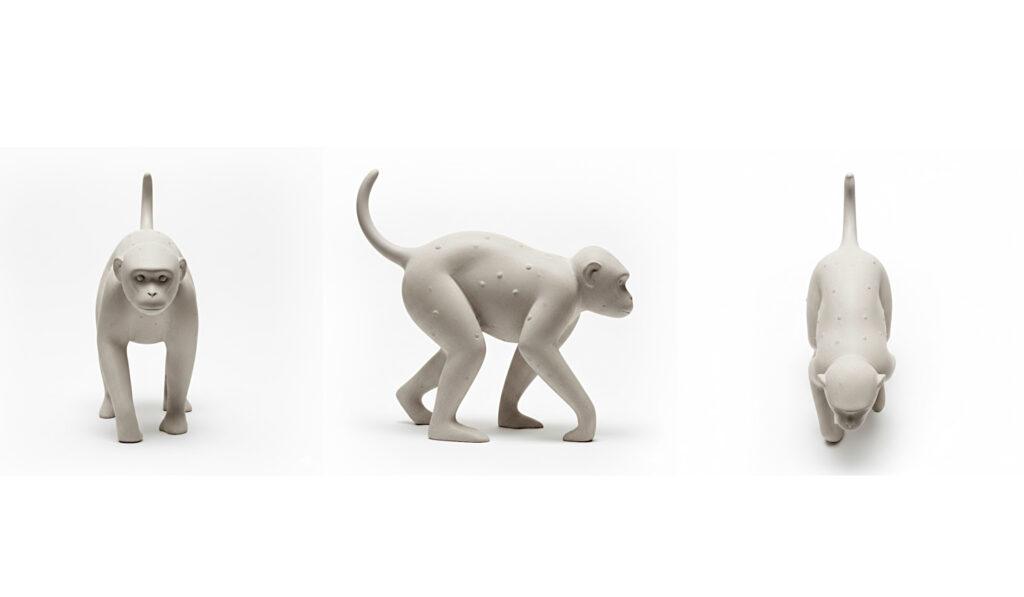
  1. I then use Google Gemini Nano Banana to render a side view of the sketch. I love Nano Banana  because after the initial render, I can ask it to do a top view,  back and front.
“Make a photorealistic render of a minimal monkey smooth concrete sculpture with some bumps using this sketch of a monkey as a guide. Render it as a side view leave the background white”
“render the front view”
monkey sculpture rendered in Gemini Nano Banana
Left view here, I just flipped the right view in a photo editing software.
“render the back view”

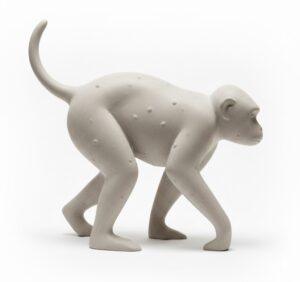
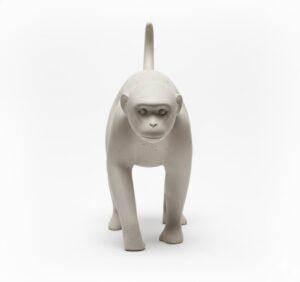
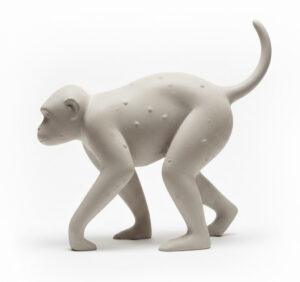
These multi views help image to AI apps to make a more coherent model. The clearer instructions you give to AI the better the results usually are and you have more control with your initial concepts.

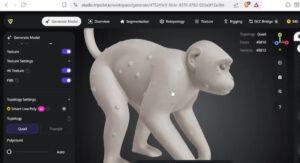
I then take the image to an image to 3D app. In this case, I am using Tripo3D. I got a one month plan and due to my current location in India, In the UK it would have been much more. Remote digital nomad work has many benefits 🙂 Ok, bar the stomach bug I had this weekend though! There are a number of popular image to 3D apps that are constantly evolving too that you can try  including Hitem, Rodin  and Meshy. I think these all now have multiple view options. Tripo 3D gave me a strong result as a basis. I then exported the model as an fbx format to Blender.

monkey sculpture created from image to 3d in tripo
The Monkey sculpture created from image to 3d in Tripo

At this point and moment in time, I believe having 3D modelling skills will enable you to evolve the original image to 3D model much further into your style and artistic direction. So please keep learning Blender, 3Ds Max, Maya, Zbrush etc.

3D apps like Zbrush and Blender with digital sculpting features allow you to evolve the imported 3D meshe towards the final result you want. Remember, I can tutor you 3D tools if you want to book a free 30 minute trial.

Use sculpt mode in Blender to evolve the model to how you want.

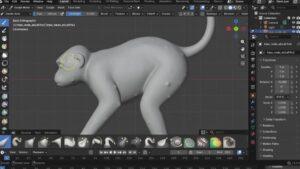
In the video above, I only hint at how we can sculpt and evolve the original AI mesh. Stay tuned, I will evolve this monkey model, rig and pose 3D print and then cast it in a material like resin for the sculpture I am working on.  Evolving the original image to 3D model eradicates the danger of being accused of stealing or “cheating” as well as the fact that the mode comes from my own initial sketch.

With 3D skills, you can take the AI model beyond what I call a static AI mesh prop to something you exactly want. Again, it’s like having a sculptor’s apprentice without having to pay a high salary.

Here is a summary -

  • I always start with my own drawing. A quick sketch on paper sets the direction.
  • AI gets me to a 3D starting point fast. I’ll upload that sketch into something like Google’s Nano Banana  as an image generator for different angles. 
  • I then upload these images into an image to 3D application such as Tripo3D that allows me to use multiple views to create a 3D model.
  • The real work happens in my 3D software. This is the key part. I take that AI-generated Monkey into Blender or  and start sculpting. I tweak the forms, add my own details, and push it until I get to where I want it to be.
  • This keeps it honest. Because I’m the one driving from sketch to final model, the result is authentically mine. The AI was just a helper on the first stage.
  • It saves me from the boring processes. I can skip hours of initial blocking and spend that time being creative instead.

Conclusions? AI is a fantastic new and fast evolving tool for your creative toolset. Use it to save time on the groundwork, then use your skills to make something only you can.


If you would like to get into this, follow this workflow in this post. If you would like any help with 3D sculpting, modelling, or the elements used such as Gemini and Tripo 3D or the sketch ideas contact me for a 30 minute no pressure free zoom session. 

Relevant Tools & Links from This Post

  • AI Image Generation for Concept Views: Use Google Gemini (specifically “Nano Banana”) to generate consistent top, side, front, and back views from a single sketch.


  • Professional 3D Software for Refinement: Elevate the AI-generated mesh with traditional 3D skills in:


Explore Articles